Installing Visual Basic 6.0 in Windows 10

Introduction
I was recently requested to debug a pre-.NET application Visual Basic, so I had to set up the environment for Windows 98 development… but nowdays all that software is deprecated and has no support. This is what I learned from my experience to get it up and running, but in case you can make a choice, I’d recommend you to rewrite the code in .NET, as this kind of DLL code relies platform, and things have changed a lot in 20 years.
Process
1.- Delete all the files from the previously failed VB6 installation attempts
Be careful to avoid deleting the recent Visual Studio versions, as they may have similar paths.
- The Visual Studio 6.0 files are by default under ‘C:\Program Files (x86)’ in 64 bits systems.
1 | C:\Program Files (x86)\Microsoft Visual Studio\Common |
- Clean up the Windows registry entrys: run ‘regedit.exe’ and delete the following keys if they exist.
1 | HKEY_LOCAL_MACHINE\Software\Microsoft\DevStudio |
2.- Modify the installation files to adapt them to current tech
First of all you will need a copy of the Visual Studio installer in your hard drive. Icopied the content of an old college licensed CD into a folder, and proceeded to edit.
- Open ‘SETUPWIZ.INI’ with a text editor (e.g. Notepad++), and replace ‘VmPath=ie4\msjavx86.exe’, which tries to install a really old Java implementation and makes the installation process fail, with an empty va. So the first part of the file should look like this:
1 | [setup wizard] |
You must also edit the ‘SETUP.EXE’ properties. Go to the context menu of the file (right click as default), select properties, and got to the ‘compatibility’ tab. Check that you have selected:
- Compatibility mode: execute as ‘Windows XP (Service Pack 3)’.
- Configuration: ‘execute this program as administrator’.
3.- Execute the wizard installer
- Open the context menu of ‘SETUP.EXE’ and choose ‘run as administrator’.
- Don’t install ‘Source Safe’, as it fails.
- When we get to ‘choose the installation mode’ select ‘Custom’. Then follow these steps:
- Do not install (as they fail):
- Microsoft Visual FoxPro 6.0
- Microsoft Visual InterDev 6.0
- Microsoft Visual SourceDafe 6.0
- ActiveX (obsolete version, generates conflict with the current version)
- Install the unicode libraries: from the custom main menu, select the text ‘Microsoft Visual C++ 6.0’, and the button ‘Change option’ on the right side will be set as active. Click on it and follow a similar process for ‘VC++ MFC and Template Libraries’ and ‘MS Foundation Class Libraries’. Finally select all these options:
- Static libraries
- Shared libraries
- Static libraries for Unicode
- Shared libraries for Unicode
- Browser database
- Source code
- Install the database: from the main ‘Custom’ menu, click on the ‘Data Access’ text , and the button ‘Change option’ on the right side will be set as active. Click on it and make sure that ‘ADO, RDS and OLE DB Providers’ is not selected. You will get a warning message saying that this component is esential for the application, but you should ignore it, as it will crash on Windows 10. Do select only the following options:
- Microsoft ODBC Drivers
- Remote Data Objects and Controls
- Data environment
- Install the tools: from the main ‘Custom’ menu, click on the ‘Enterprise Tools’ text, and the button ‘Change option’ on the right side will be set as active. Check that ‘Visual Studio Analyzer’ is not selected. Therefore, select only:
- Aplication Performance Explorer
- Repository
- Visual Component Manager
- Visual Basic Enterprise Components
- VC++ Enterprise Tools
- Microsoft Visual Modeler
- As the last step, before pressing on ‘Finish’, do not let the program configure the environment vars.
- If you have waited more than 5 minutes and the program is still ‘configuring the system’, you can assume something has gone wrong and the install has been frozen somewhere. Cancel it, clean up (see the first section on top of this post) and start all over again, reading carefully the steps.
- If there is an error message about the Java machine you can ignore it. At that point you should be able by then to run ‘Visual Basic’ without the MSDN help package, so you get the bare bones yet fully functional experience.
4.- Execute the application
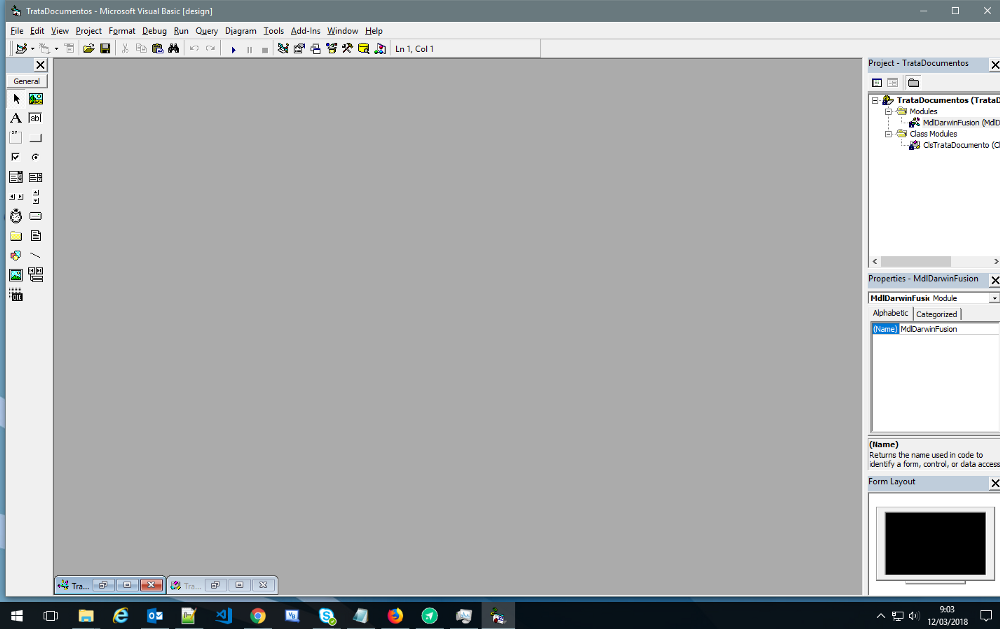
Run it always in administrator mode (right click on Visual Basic 6.0, and select ‘run as administrator’). Then, here it is, ready to run and debug ancient DLLs.

❗️ If you want it the program to run using a Microsoft Office 2010 instance, you will need to load some dependencies. Go to ‘Project/References’ and select:
- Visual Basic for Applications
- Visual Basic runtime objects and procedures
- Visual Basic objects and procedures
- OLE Automation
- Microsoft Excel 15.0 Object Library
- Microsoft Word 15.0 Object Library
